Hello guitarists, just wanted to remind you about some very simple techniques that are sometimes easy to overlook in your recordings. The concept of layering for effect will open up a whole new window to expand your playing.
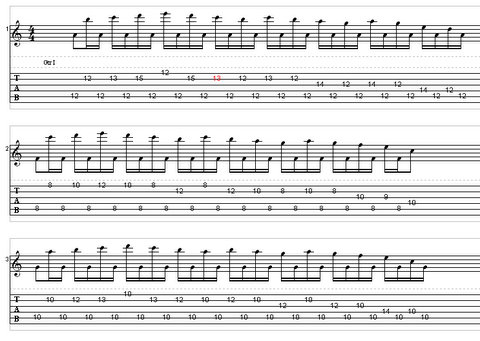
Now the thought here is not to layer 50 million different guitars until you hear nothing but static on the tape. Just one additional guitar is enough to completely transform your sound. During the recording of my latest guitar piece, "Galactic Winds" I did the simplest thing and it sounded great. The melody line I had come up with just not sounding thick enough, so I played the same exact part an octave higher and that created the "outer space" sound I was looking for.
What I realized is this gives you a way to play more melodically and you have to cooperate with the "harmony guitar". So you'll definitely have to construct your parts a little more carefully knowing you will have to play the exact part again an octave higher or even a third higher.
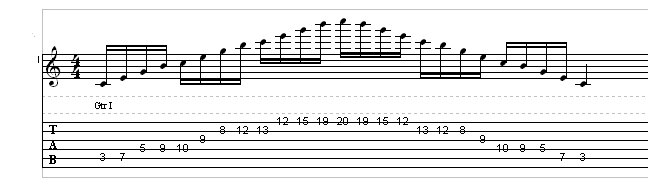
This is one of my favorites, harmonizing by thirds and sixths. Let's say the lead guitar one is playing the notes C D E in quarter notes, you can harmonize that with lead guitar two in simple thirds with the notes E F G or sixths with the notes A B C. In this example, you are simply playing parallel thirds or sixths which works as long as the key stays the same.You should try this just for an experiment by recording lead guitar one and lead guitar two in patterns and rhythms of your choosing and try harmonizing in different intervals.
Here's the kicker, you can technically harmonize with ANY interval: unison, seconds, thirds, fourths, etc.